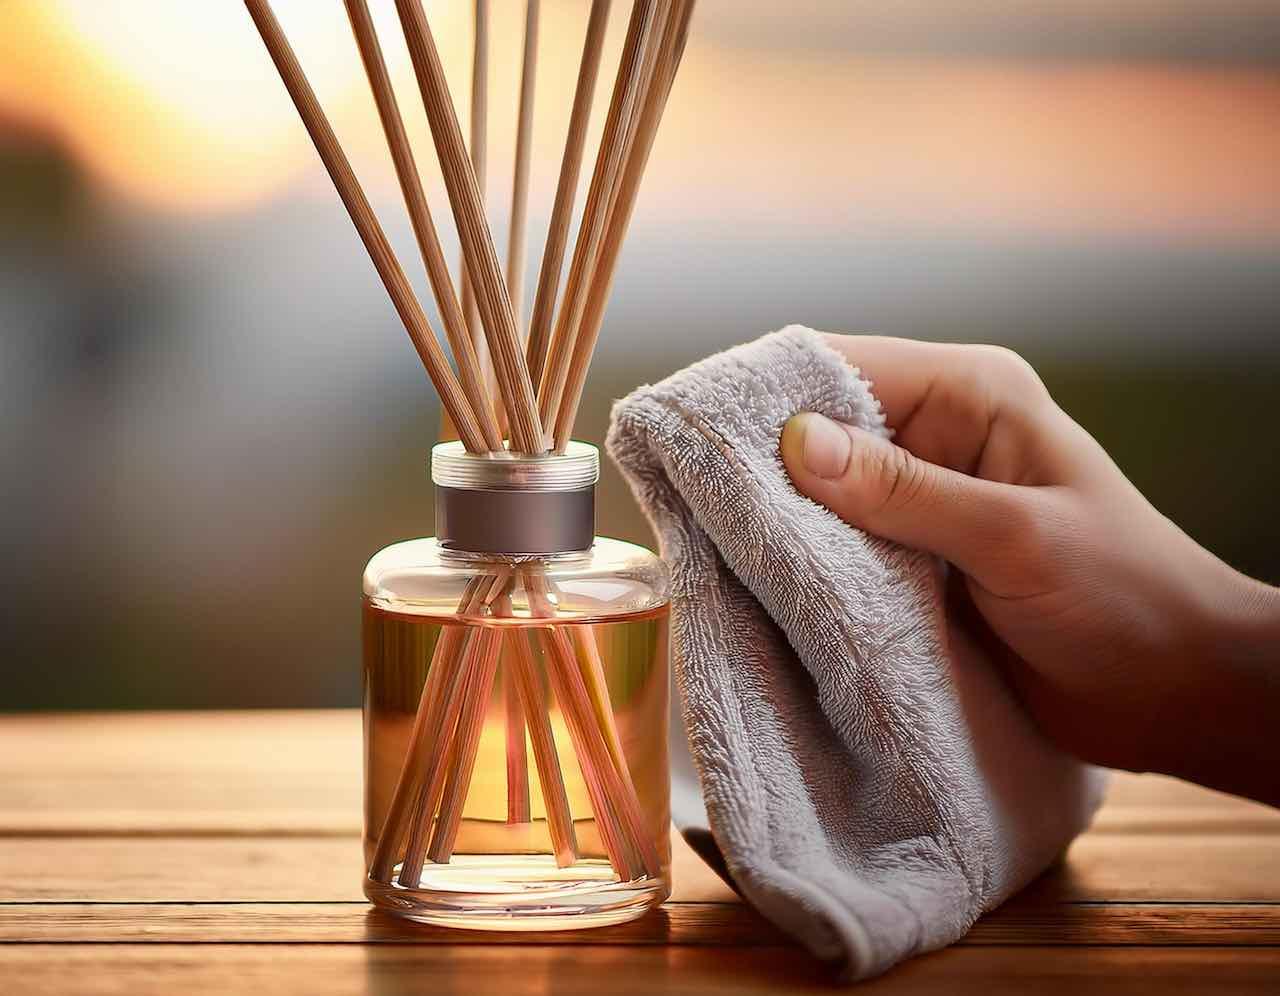
How to Properly Clean and Maintain Your Reed Diffuser
Reed diffusers are a popular, low-maintenance way to keep your space smelling fresh.
They offer continuous fragrance without the need for electricity, flames, or sprays, making them a safe and stylish choice for scenting your home.
However, to ensure optimal performance, reed diffusers also need a bit of care and maintenance.
Proper cleaning and upkeep can help extend the life of your diffuser, preserve the quality of the fragrance, and keep it looking attractive.
Here’s a step-by-step guide on how to properly clean and maintain your reed diffuser.
Why Cleaning and Maintenance Matter
Over time, oil residue can accumulate inside the diffuser bottle and on the reeds.
This buildup can block the reeds' ability to absorb the oil and diffuse the scent, leading to weaker fragrance output.
Additionally, dust or other contaminants can collect on the reeds, affecting both the scent and the aesthetic of your diffuser.
Regular maintenance keeps your diffuser working effectively, ensuring that it continues to emit a consistent fragrance.
Step-by-Step Guide to Cleaning Your Reed Diffuser
1. Remove the Reeds

The first step in cleaning your reed diffuser is to remove the reeds.
Gently take them out of the bottle and place them on a clean paper towel or in a small plastic bag if you’re planning to dispose of them.
If the reeds have been in use for over a month or have become clogged with oil, it’s best to replace them with new ones rather than trying to clean them, as they typically lose their effectiveness over time.
2. Empty the Oil
Once the reeds are removed, pour out any remaining diffuser oil from the bottle.
If you’re planning to reuse the oil, store it in a separate sealed container to avoid contamination.
However, if the oil has been sitting for a long time or has lost its scent, it’s better to dispose of it and start fresh with a new refill.
3. Clean the Diffuser Bottle

To clean the diffuser bottle, fill it with warm water and add a few drops of mild dish soap or white vinegar.
Swirl the water around inside the bottle to loosen any oil residue. If necessary, use a small bottle brush or a sponge to scrub the interior gently, paying attention to any areas where the oil has collected.
After cleaning, rinse the bottle thoroughly with warm water to remove any soap or vinegar residue.
Make sure to dry the bottle completely before refilling it to avoid diluting the new oil.
4. Clean the Outside of the Bottle
Don’t forget to wipe down the exterior of the diffuser bottle as well.
Use a soft cloth dampened with water to clean the outside and remove any oil stains or dust.
For decorative diffuser bottles made from delicate materials like glass or ceramic, avoid using harsh chemicals that could damage the finish.
5. Replace the Reeds

If your reeds are more than a month old or clogged with oil, replace them with new ones.
Old reeds tend to lose their ability to absorb and diffuse the oil over time, leading to a weaker fragrance.
Replacing them regularly (every 1-3 months) ensures that your diffuser continues to function effectively.
6. Refill with New Oil
Once your diffuser bottle is clean and dry, refill it with fresh diffuser oil.
Pour slowly to avoid spilling, and only fill the bottle about halfway to prevent overflow when you insert the new reeds.
Choose high-quality diffuser oil to ensure a long-lasting fragrance and to minimize any unwanted residue buildup inside the bottle.
7. Insert New Reeds and Flip Them
Place the new reeds into the diffuser bottle, allowing them to soak for a few minutes.
To help the scent spread more quickly, flip the reeds so that the saturated ends are exposed to the air.
This will refresh the fragrance in your space and help the oil distribute evenly along the reeds.
Ongoing Maintenance Tips for Your Reed Diffuser
1. Flip the Reeds Periodically
Flipping the reeds every week or so will keep the fragrance fresh and help distribute the oil evenly.
However, flipping the reeds too often can cause the oil to evaporate more quickly, so it’s best to do this only when the scent starts to fade.
2. Keep the Diffuser in a Cool Spot
Avoid placing your reed diffuser in direct sunlight, near heaters, or next to open windows where airflow is strong.
Heat and direct sunlight can cause the oil to evaporate faster, reducing the lifespan of your diffuser.
3. Use High-Quality Oils
Opt for high-quality diffuser oils that are specifically designed for reed diffusers.
These oils are formulated to be absorbed easily by the reeds and to last longer.
Cheaper oils may contain additives or synthetics that can clog the reeds and reduce the fragrance output.
4. Replace the Reeds Regularly
Reeds naturally become saturated and clogged over time, even with regular flipping.
If your diffuser’s scent weakens and flipping the reeds doesn’t help, it’s a sign that it’s time to replace the reeds. New reeds will allow the oil to diffuse more effectively.
5. Clean Between Refills
Each time you change the diffuser oil, it’s a good idea to clean the bottle.
This will prevent any old residue from mixing with the new oil and will keep the scent pure.
Additionally, cleaning the bottle helps avoid any bacteria or mold buildup, especially if the diffuser is in a humid environment like a bathroom.
Conclusion
A reed diffuser is a beautiful and low-maintenance way to enjoy continuous fragrance in your home, but proper cleaning and maintenance are essential for keeping it working at its best.
By following these simple steps to clean your diffuser bottle, replace the reeds, and use high-quality oils, you’ll enjoy longer-lasting and more effective scents throughout your space.
With the right care, your reed diffuser will continue to provide a pleasant, fragrant atmosphere for months to come.
Featured collection
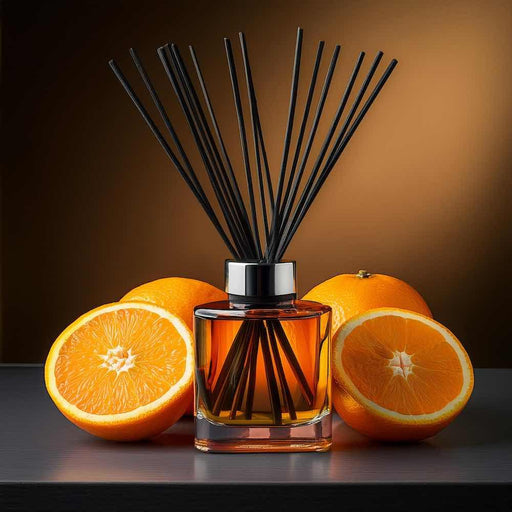
Amber & Sweet Orange Reed Diffuser
Introducing the Amber & Sweet Orange Reed Diffuser, a harmonious blend of vibrant citrus and warm, earthy notes. The fragrance opens with brigh...
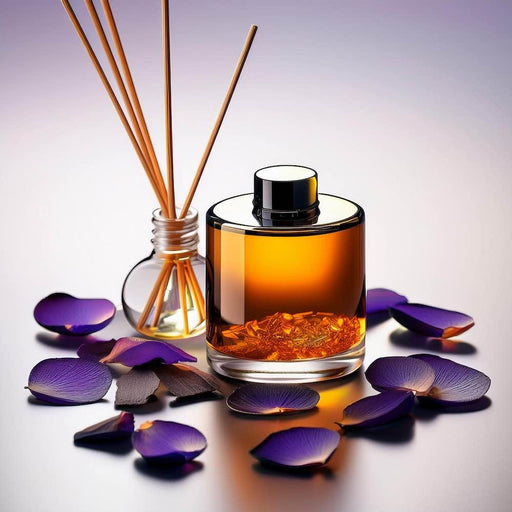
View full detailsAmber & Violet Reed Diffuser
Introducing the Amber & Violet Reed Diffuser, a captivating blend where the delicate floral notes of violet meet the rich warmth of amber. The ...
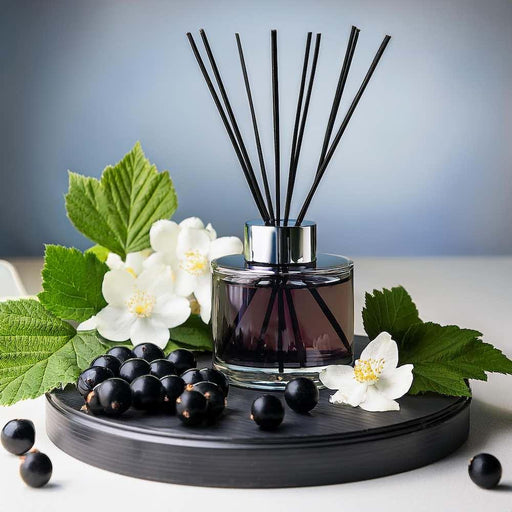
View full detailsBaies Sauvage Reed Diffuser
Introducing the Baies Sauvage Reed Diffuser, a luxurious scent experience that captures the essence of wild nature in its most enchanting form. Thi...
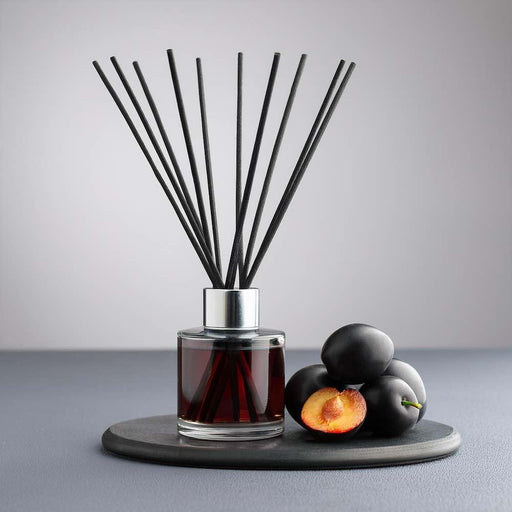
View full detailsBlack Plum and Rhubarb Reed Diffuser
Introducing the Black Plum and Rhubarb Reed Diffuser: an exciting and unique way to fill your home with fragrance! This vibrant reed diffuser not o...
View full detailsBlackberry and Bay Reed Diffuser
Discover the fresh burst of nature inside your home with a Blackberry and Bay Room Reed Diffuser! A unique combination of delicious blackcurrants, ...
View full details
